Whether you’re an athlete, hard worker, or busy parent, foam rollers can become a core part of anyone’s daily recovery routine. These log-shaped tools offer one of the simplest ways to relieve stubborn tension in the body, and especially in the back.
But if you’ve never used one before, it can be tricky to figure out exactly what you should (and shouldn’t) do while you roll. So, how can you use a foam roller on an achy back — the right way?
Below, find a complete guide on how to use a foam roller for back pain, including the dos, don’ts, and most important tips to know.
How Foam Rolling Works
Foam rolling can be a soothing part of your daily routine — but what exactly does it do for your body, and how does it all work?
The research is limited so far, so we haven’t exactly pinned down the “how” behind foam rolling yet. However, many believe that its benefits stem from self-myofascial release (SMR).
This refers to the sustained pressure that certain tools (like foam rollers and massage balls) can place on muscles and fascia, which may help to ease tension, loosen stiff muscles, and break up knots. And in many cases, it simply feels good.
For this reason, many people use foam rollers to recover after workouts, warm up their muscles, and decrease tightness caused by daily stressors.
What Are the Benefits of Foam Rolling?
Here are some of the main potential benefits of foam rolling:
- Supports healthy blood flow: Like a good massage, the pressure of foam rolling may promote healthy circulation to sore muscles.
- Boosts flexibility: Foam rolling the muscles around stiff joints can ease tension and support your overall mobility.
- Can help with general aches and pains, as well as post-workout soreness.
- May improve athletic performance by boosting general muscle health and range of motion.
- Helps you relax: Mindfully working through a foam rolling session at the end of the day is a great way to ease mental and physical stress.
Types of Foam Rollers
When you think of a foam roller, you might imagine those large, styrofoam-y cylinders at your local gym. However, these aren’t the only option when you want to start your own self-massage routine.
Foam rollers come in a variety of types, all of which have unique uses and benefits. If you decide to shop around for one, you’ll likely come across:
- Soft foam rollers, which are excellent for people who are just starting their self-myofascial release journey.
- Firm foam rollers, which are best for athletes and people with extra-stiff muscles.
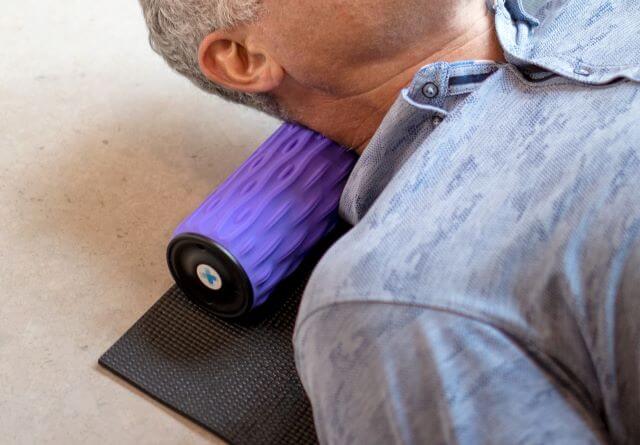
- Vibrating foam rollers, which use the power of vibration therapy to work deeply into the muscle tissue.
- Grid and deep tissue foam rollers, which have textured surfaces that can work well for people who prefer deeper massage. Since they do offer more intense pressure, they’re a good choice for people with prior foam rolling experience.
How Can You Pick a Foam Roller?
Before you decide on a new foam roller, it’s important to consider your needs, preferences, and past experience with self-myofascial release.
For example, a soft, large foam roller would probably be your best bet if you’re a beginner who prefers broad, light massage. On the other hand, athletes or active workers might prefer a textured, vibrating roller to work deeper into the muscle tissue.
In any case, every person has a unique set of goals when it comes to foam rolling — so be sure to research each of your options before deciding on one.
The Dos of Using a Foam Roller for Back Pain
Using a foam roller on your back might look easy (and it certainly can be), but there are still some things you should know before diving in.
Here are some essential tips to keep in mind:
1. Start Low and Slow
If you start with intense pressure off the bat, you might feel significant pain or discomfort (and not the “hurts-so-good” kind.) To keep your muscles safe, use light pressure when you begin, and dial it up as needed.
If you’re using a roller to knead out back pain, remember to lean into it gently, and massage at a rate of about one inch per second. Breathe deeply as you do so, being sure to pause and pay attention to any knots or tender areas.
2. Practice Proper Form with Each Exercise
It’s essential to practice proper form with any foam rolling exercise that you try, especially when you’re already dealing with back pain. A few ways you can improve your form include:
- Mindfully relaxing your muscles
- Engaging your core
- Keeping your posture in alignment
3. Foam Roll For Recovery
If your back often feels stiff after workouts, self-myofascial release is a great way to restore your tired muscles. Not only can it help you feel relaxed, but it can also bring major benefits for soreness and flexibility.
In fact, one small study looked at the effects of a 20-minute foam rolling session immediately after, one day, and two days after a workout. The participants who foam rolled reported improvements in delayed onset muscle soreness (DOMS), along with small boosts in performance.
With all this in mind, consider a few minutes of foam rolling the next time you have a tough workout — you may be surprised at the difference it makes in your mobility and recovery.
4. Make Your Sessions Short
Because self-myofascial release is so relaxing, it can be tempting to over-roll your achy muscles. However, it’s best to limit your rolling to short bursts of time, so you can avoid causing irritation or pain.
A good rule of thumb is to keep your sessions in the 5 to 20-minute range, with up to 60 seconds of rolling per muscle group.
5. Be Mindful of Your Body’s Signals
A bit of discomfort is completely normal when you’re massaging already-sore muscles. But sometimes, pain can be a sign that you’re pressing too hard or working on an area that’s already inflamed.
With that in mind, pay attention to your body’s signals while you roll, and ease back if anything feels like it’s hurting more than it’s helping.
The Don’ts of Using a Foam Roller for Back Pain
Now that you know what you should do during your soothing roll-out sessions, here are some tips on what to avoid:
1. Don’t Try to Massage Bones (or Anywhere Without Soft Tissue)
Self-myofascial release (and really any massage) is meant to work on your muscles — not your bones. In fact, using pressure over bony areas can be unhelpful, and sometimes even lead to pain and inflammation.
Fortunately, you can protect your tendons, ligaments, and joints by only focusing on areas with muscle and other soft tissue.
As an example, you don’t need to foam roll your actual spine when you have upper back pain. Instead, you can massage the paraspinal muscles (aka the little muscles that line each side of your spine), the traps, or any other muscles that may be giving you trouble.
2. Don’t Spend Too Much Time on Trigger Points
When you’re dealing with a pesky trigger point, a quick foam roll session can sound tempting. And while it can break up the knot and soothe the muscles, it’s important not to put too much pressure on any single area for too long.
If you need to target a tight band of muscle, start by rolling as per usual — and when you reach a tender spot, simply pause and hold for 10 to 30 seconds. This is often all the time you’ll need to feel the tightness begin to release.
Tip: If a trigger point feels too sore to work on, it can help to focus on the surrounding muscles instead. This can help decrease stiffness and tension until you’re able to tackle the knot itself.
3. Don’t Foam Roll Your Lower Spine
Lower back pain is one of the most common causes of discomfort, which can make foam rolling your lower spine tempting. However, your spine’s curve (plus the lack of rib protection) can leave this area prone to stress and injury during rolling exercises.
As an alternative, you can try to target other muscles that might be contributing to the pain — such as your hip flexors, glutes, and even your calves. And when you want to self-massage a specific low back muscle, a tennis ball can work as a gentler option.
4. Don’t Foam Roll Acute, Aggravated Injuries
Foam rolling is an excellent way to relieve sore, overused muscles. But it’s best avoided when you have a recent injury (such as a torn muscle or back strain), since it can worsen the damage and inflammation.
In any case, check with your doctor before trying foam rolling if you have any injury — old or new — that you aren’t sure about.
Foam Roller for Back: 3 Exercises to Try

Now that you know the most important dos and don’ts, here are some of the best tips and exercises for foam rolling your back at home:
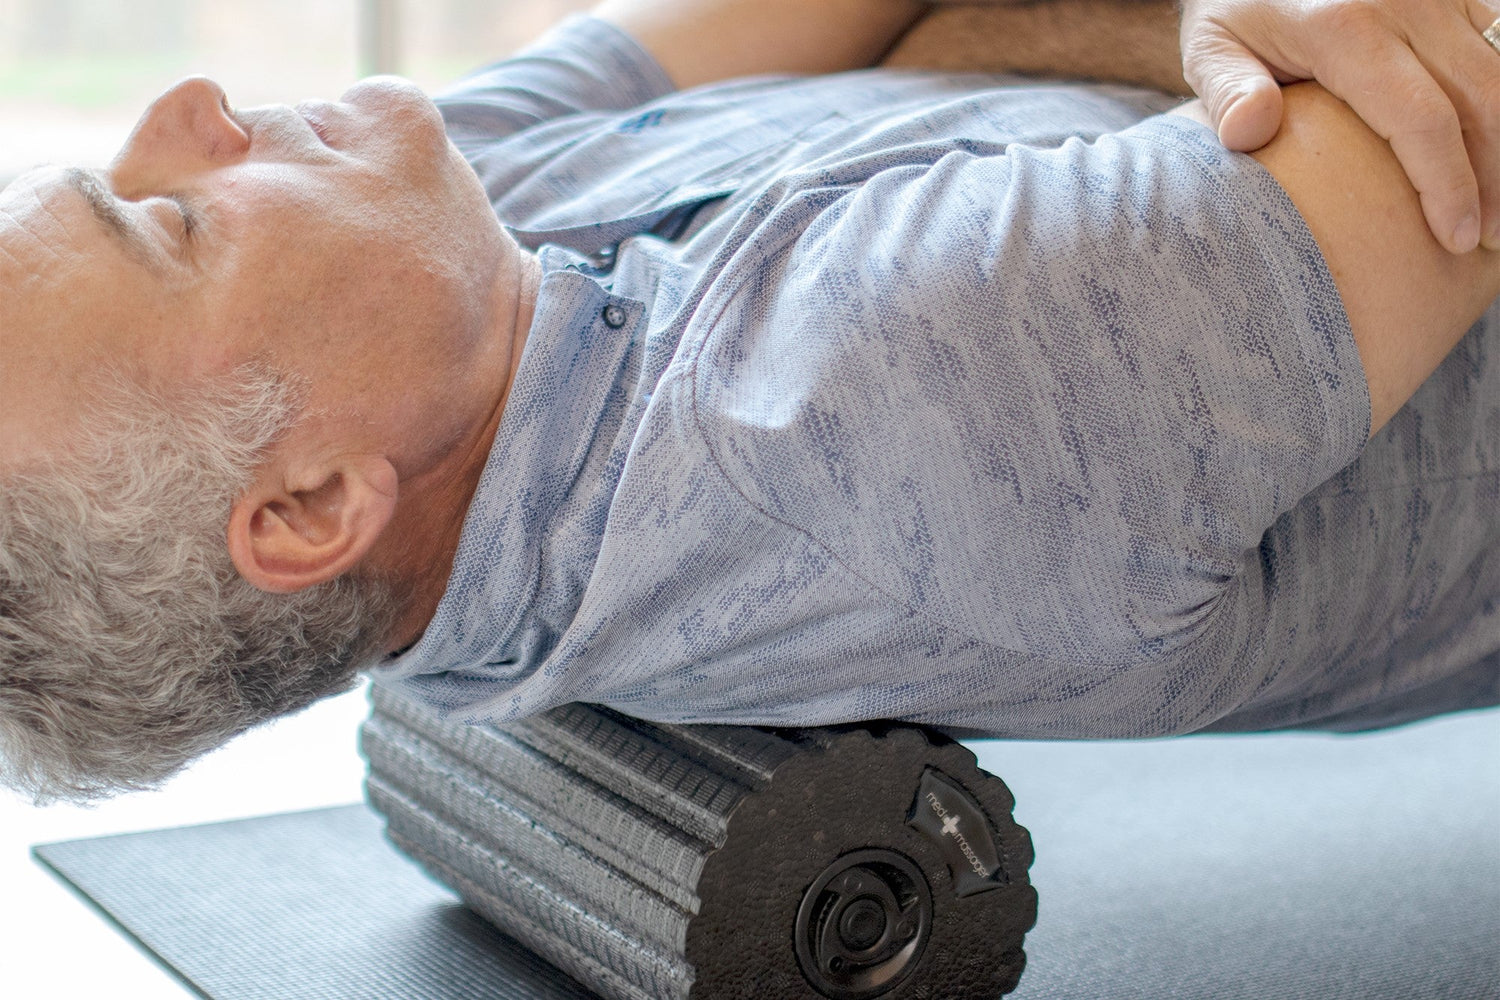
Middle & Upper Back Roll
The mid and upper back are notorious for feeling achy — especially if your daily routine involves a lot of sitting or bending. Thankfully, TLC in the form of a simple rolling session can bring you relief.
Here’s a quick exercise to try:
- Start by finding a comfortable place to sit on the ground. (A yoga mat works well if you have one on hand.)
- Place your foam roller behind you, perpendicular to your back.
- Sit in front of the roller with your legs bent out in front of you, and your feet planted on the ground.
- Then, cross your hands behind your head, and point your elbows up and out to the side. (Basically, you’ll want to get into a classic “sit-up” position.)
- Slowly lean back onto the roller so that it’s aligned with your middle back. Be sure that it’s not resting on your lower spine, and that it’s at or above your rib cage.
- Using your legs, push your body off the ground and engage your core.
- Slowly slide your body downward, allowing the foam roller to massage up and along your back.
- Then, push your body in the opposite direction, so the foam roller rolls back down to your middle back.
- Repeat for 60 to 90 seconds.
Hip Flexor Roll for Lower Back Pain
As mentioned above, foam rolling your lower back can come with risks. The good news is that according to the National Academy of Sports Medicine, you may still find relief by massaging other tense muscles near the area.
For example, it can help to roll out the tension in your hip flexors — a group of muscles that can sometimes contribute to low back pain.
Here are the steps:
- Place a foam roller on the ground in front of you.
- Kneel down into a plank position, and place the roller below your right hip flexor.
- Extend your right leg straight out behind you, and bend your left leg out to the side for support.
- Slowly lower your body onto the roller. As you do so, mindfully stabilize your core to keep your spine supported.
- Gently rock your body from side-to-side to begin massaging your hip flexors.
- Continue for up to 30 seconds, and repeat on the other side. (For a visual tutorial, be sure to check out this video.)
Lats Foam Roll
Your latissimus dorsi muscles are wide, wing-like muscles that stretch from your spine and wrap around the side of your ribs. They’re engaged during countless arm and shoulder movements — and when they’re sore or stiff, they can become a source of mid-to-upper back pain.
Fortunately, foam rolling makes it easy to massage these busy muscles. Simply:
- Place the foam roller next to your body, and extend your left arm above your head.
- Lie down sideways on the foam roller, so that it’s just below your armpit and perpendicular to your body.
- Lightly sink into the roller with your body weight, as much as feels comfortable to you.
- Slowly rock back and forth to warm up the lat muscle for ten seconds or so.
- With your core engaged, use your legs to gently roll your body in an up-and-down motion. Pause for a few seconds if you notice any especially tender areas.
- Continue for 30 to 60 seconds, and repeat with the other side.
Are There Any Risks of Foam Rolling?
Foam rolling is a fairly safe activity, especially when you keep the common dos and don’ts in mind. That being said, there are some times when you may need to proceed with caution or avoid it altogether.
Your doctor is the only person who can tell you for sure whether it’s safe for you — but here are some general guidelines to be aware of:
- Avoid massaging over fresh injuries, such as open wounds, torn muscles, fractures, etc.
- If you’re currently pregnant, check with a healthcare professional before getting started.
- Talk to your doctor if you have any conditions that haven’t already been OK’d for foam rolling. Diabetes, varicose veins, and osteoporosis are a few examples where you’d need to take extra care, but there are many others. At any rate, it’s best to get a professional opinion if you have anything you aren’t sure about.
- To avoid injury, only work on areas with plenty of soft tissue. It’s important not to roll over vulnerable parts of the body, such as your shins, lower back, and bony joints.
The Bottom Line
Foam rolling is an easy way to relieve back pain and support your muscle health. And because it’s so simple, it’s a favorite tool for runners, gym-goers, and just about anyone who wants to stay flexible and pain-free. But before you start your new roll routine, there are some key tips to keep in mind:
- Do remember to start with light pressure, listen to your body, and practice proper form with each exercise.
- Avoid working on your low back, bones, and injuries, as well as working on any muscle group for too long.
And finally, be sure to talk with your doctor if you have any health concerns. With their guidance, you can start a foam rolling routine that’s safe, soothing, and effective for you.
Getting Started with Home Massage
For deep relief in the comfort of your home, the therapeutic massage tools from MedMassager can help. View our full range of soothing tools today, or learn more about their many restorative uses.


